Glamour effect tutorial in Photoshop
I know guyss this is a blogging site and not a tutorial sharing site, but i really wanted all of us to blog nicely, so i m jus writting a simple tutorial for adding Life in a picture..
This will look a simple picture glamourss.. i m not good with PHOTOSHOP, but u can make it very good output..
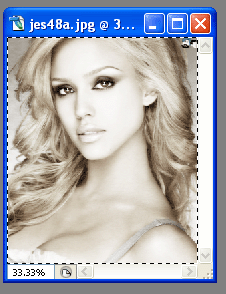
so first of all select a picture, like i m selecting JESSICA ALBA’s picture

Second step to this tutorial is change the layers blend mode to Soft Light. As shown below.
Once you have done this right click the layer and Duplicate it. Than press Shift+Ctrl+U or go to Image, Adjustments, than to Desaturate. Once you have done this. Duplicate the layer that has been Desaturated 2 more times. So there is a total of 4 layers. (Shown Below) (Make sure the Layers are in that order with the colorful one on top.)
Now what you want to do is select Layer 0. Go to Filter, Blur, Motion Blur. You will set the distance to 10 px.
Take Layer 0 Copy same effect but use 20 px this time. On Layer 0 Copy 2 change the blending mode to Screen. You should have something like this.
Now Get out the Elliptical Marquee Tool,And draw a circle like shown below.

Make a new layer Right Click above all the new layers Right Click still having the Marquee Tool and select Select Inverse. Take The color white and with the paint bucket fill it in. Should look like this.
Now with the new white layer selected Go to Filter, Blur, Gaussian Blur and use 50. You can use different setting for different effects.
You can end it here and addd text.. but if u want some more effects, jus play around with layers and filters and many other effects.. jus like i did it .. and here is my final prodcut..
anyone who needs its .psd can very well leave a comment, I will him or her 🙂
thanks and Regards

Recent Comments